 Clear Cortex
How to make an AI video: brief, model, prompt, start frame, iterate, export
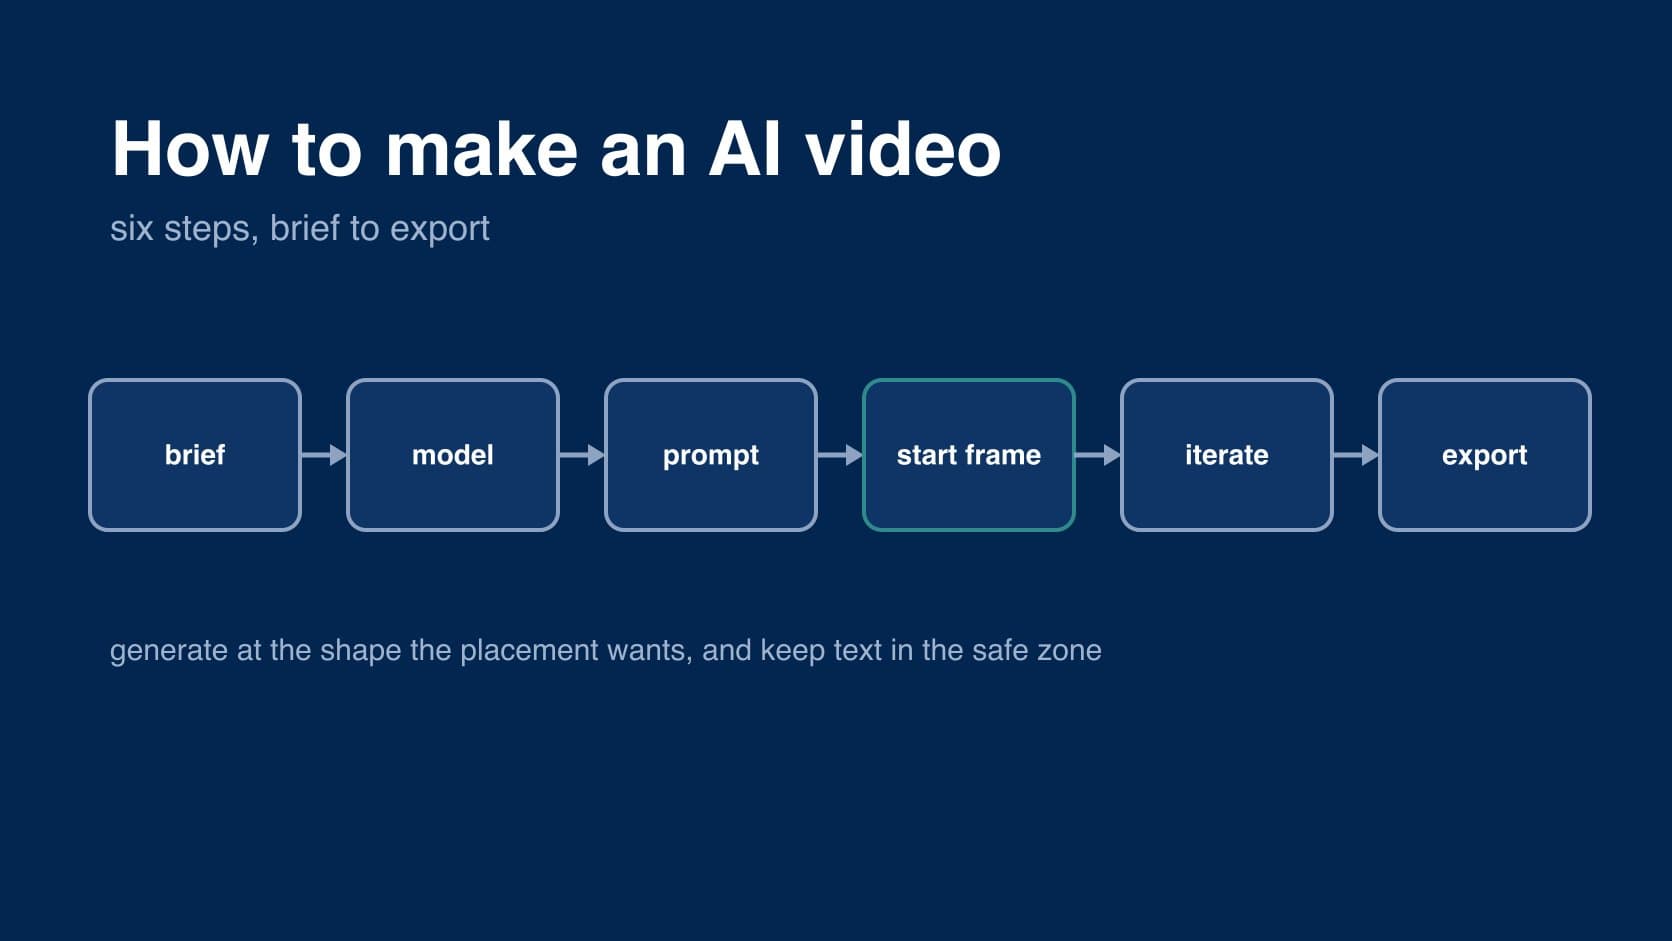
making an AI video takes a few minutes. making one you can actually use — for an ad, a product page, a reel — takes a process, because the first generation is rarely the one you keep. the people who get good results do the same six things in the same order: write the brief, pick the model for the shot, prompt like a camera operator, start from a still, iterate cheaply, and export at the shape the placement wants.
this guide walks through each step. if you want the background first — what an AI video generator is, and the difference between text-to-video, image-to-video and script-to-video — it is on the AI video generator page.
one line from a media buyer sums up why the steps matter:
"making good creatives takes more than a single prompt and a dream"
the short answer
- brief: one sentence on who it is for, what it has to show, where it will run and how long it is.
- model: choose by the shot — length, resolution, shape, sound — not by reputation.
- prompt: subject, action, camera, light and sound, in that order.
- start frame: begin from a still of your product or person, not from words alone.
- iterate: fix the image before you pay for the clip; change one thing per run.
- export: generate at the shape the placement wants — usually 9:16 — and keep text inside the safe zone.
step 1: write the brief
before any prompt, write down four things: who will watch it, the one thing it has to show, where it will run, and how long it can be. "a 9:16, 10-second hook for TikTok that shows the bottle being opened" is a brief. "a cool video of our product" is a wish, and the model will grant it with something generic.
the brief also tells you when you are done. one freelancer who tested several tools made the same point about what to measure:
"The number that matters is: how fast can I get from brief to something the client will actually approve?"
if the piece is longer than one shot — most ads are — write the hook first. the same workflow post that recommends short clips puts it at the top of the list:
"Script the hook first. First 1-2 seconds matter more than the rest of the video combined."
for anything with several beats, break the script into shots now. that is a storyboard, and script to video AI covers it step by step.
step 2: pick the model for the shot
models differ on things you can check before you spend anything: how long a single clip can be, how sharp, what shapes it comes in, and whether it takes reference images. pick on those first.
| if the shot needs… | look at |
|---|---|
| one long, unbroken take | Seedance 2.5 — any length from 4 to 30 seconds, at up to 720p |
| 1080p or 4K | Seedance 2.0 — 480p to 4K, 4 to 15 seconds |
| very short cuts, square video, a price you know in advance | Kling 3.0 Standard — 3 to 15 seconds, one flat per-second rate |
| sound generated with the picture, in 16:9 or 9:16 | Gemini Omni 1.1 Flash |
| 2K without choosing a size, and wide ratios like 21:9 | Hailuo 3 |
| cheap drafts before the real run | Seedance 2.0 Mini — half Seedance 2.0's token rate |
the models' strengths beyond those specs — realism, motion, how well they hold a product — are mostly their makers' claims. we compare them by use case, with sources, in the best AI video generators.
step 3: write the prompt like a shot list
a video prompt is closer to a line on a shot list than a description of a picture. say, in this order:
- subject: who or what is in frame, specifically. "a woman in her thirties in a grey hoodie" beats "a person".
- action: one thing that happens. two actions in five seconds is where clips fall apart.
- camera: the framing and the move — close-up, slow push in, handheld, locked off.
- light and setting: time of day, where, what the light is doing.
- sound: if the model generates audio, say what it should hear — or that it should hear no music.
for example: "close-up of a hand unscrewing a matte black bottle on a kitchen counter, slow push in, morning light from a window on the left, the click of the cap, no music". if you start from an image (next step), you do not need to describe what is already in it — describe what moves.
step 4: start from a still
text alone asks the model to invent everything, including your product, and it will invent it slightly wrong. giving it a still as the first frame fixes the subject, the framing and the light, and leaves the model only the motion to invent. it is the single biggest improvement most people make.
from a small DTC brand owner's workflow for AI video ads:
"Video tools work way better when you hand them a starting frame."
every video model in our studio takes a first frame and a last frame, so you can also choose where the clip ends — open on the product in a hand, close on the packshot. Seedance and Hailuo also take extra reference images for a look, a person or a product. what makes a good start frame, and why some products drift anyway, is in image to video AI.
step 5: iterate cheaply
most of the cost of an AI video is the clips you throw away. three habits cut that down:
- fix the image first. a bad start frame makes a bad clip at full clip price. regenerate the still until it is right, then animate it.
- draft on a cheaper tier. find the shot on Seedance 2.0 Mini or Kling 3.0 Standard, then re-run the same prompt and frame on the tier you ship.
- change one thing per run. if you change the prompt, the model and the frame at once, you will not know which one fixed it.
the workflow post quoted above puts the first habit plainly:
"Storyboard in still frames before generating video. Cheaper to iterate on a bad image than a bad clip."
and keep clips short. every model degrades the longer it runs, so a 4-second clip you can cut is worth more than a 12-second one you cannot use. the same post:
"Keep clips short (2-4 sec) and cut fast. AI video degrades in quality the longer the clip, so shorter cuts hide artifacts better."
step 6: export at the right ratio
generate at the shape the placement wants, rather than cropping later — a crop throws away resolution and often the subject. three shapes cover almost everything:
- 9:16 — TikTok, Reels, Stories, YouTube Shorts.
- 4:5 — Facebook and Instagram feed. none of the video models we run outputs 4:5 directly; generate at 3:4 on Seedance or Hailuo and trim about 6% off the height, or use 1:1.
- 1:1 — feed placements that still want square, and Marketplace.
check the model takes your shape before you start: Gemini Omni makes 16:9 and 9:16 only, while Kling 3.0 adds 1:1, and Seedance and Hailuo add 3:4, 4:3 and ultrawide. sizes, file limits and text lengths for every Meta placement are in Meta ad specs.
for vertical video, keep on-screen text and logos out of the areas the app covers with buttons and captions. the box that is clear on TikTok, Reels and Shorts at once is drawn in pixels in TikTok safe zones. and watch the result with the sound off before you ship — if the hook does not work muted, it will not work in a feed.
the summary
- brief first. who, what it shows, where, how long — and the hook before the rest.
- choose the model by the shot's specs. length, resolution, shape and references are checkable; quality claims mostly are not.
- prompt subject, action, camera, light, sound. one action per clip.
- start from a still. it fixes the product and leaves the model only the motion.
- iterate on images and cheap tiers. keep clips short and change one thing at a time.
- generate at the placement's shape. 9:16 for vertical, 3:4 trimmed to 4:5 or 1:1 for feed; keep text inside the safe zone.
everything above can be done in Clear Cortex: make the still in image mode, animate it in video mode on whichever model suits the shot, and keep both in Assets. for how the models compare and the other ways to make AI video, go back to AI video generator.