 Clear Cortex
Image to video AI: how it works, start and end frames, and which models do it best
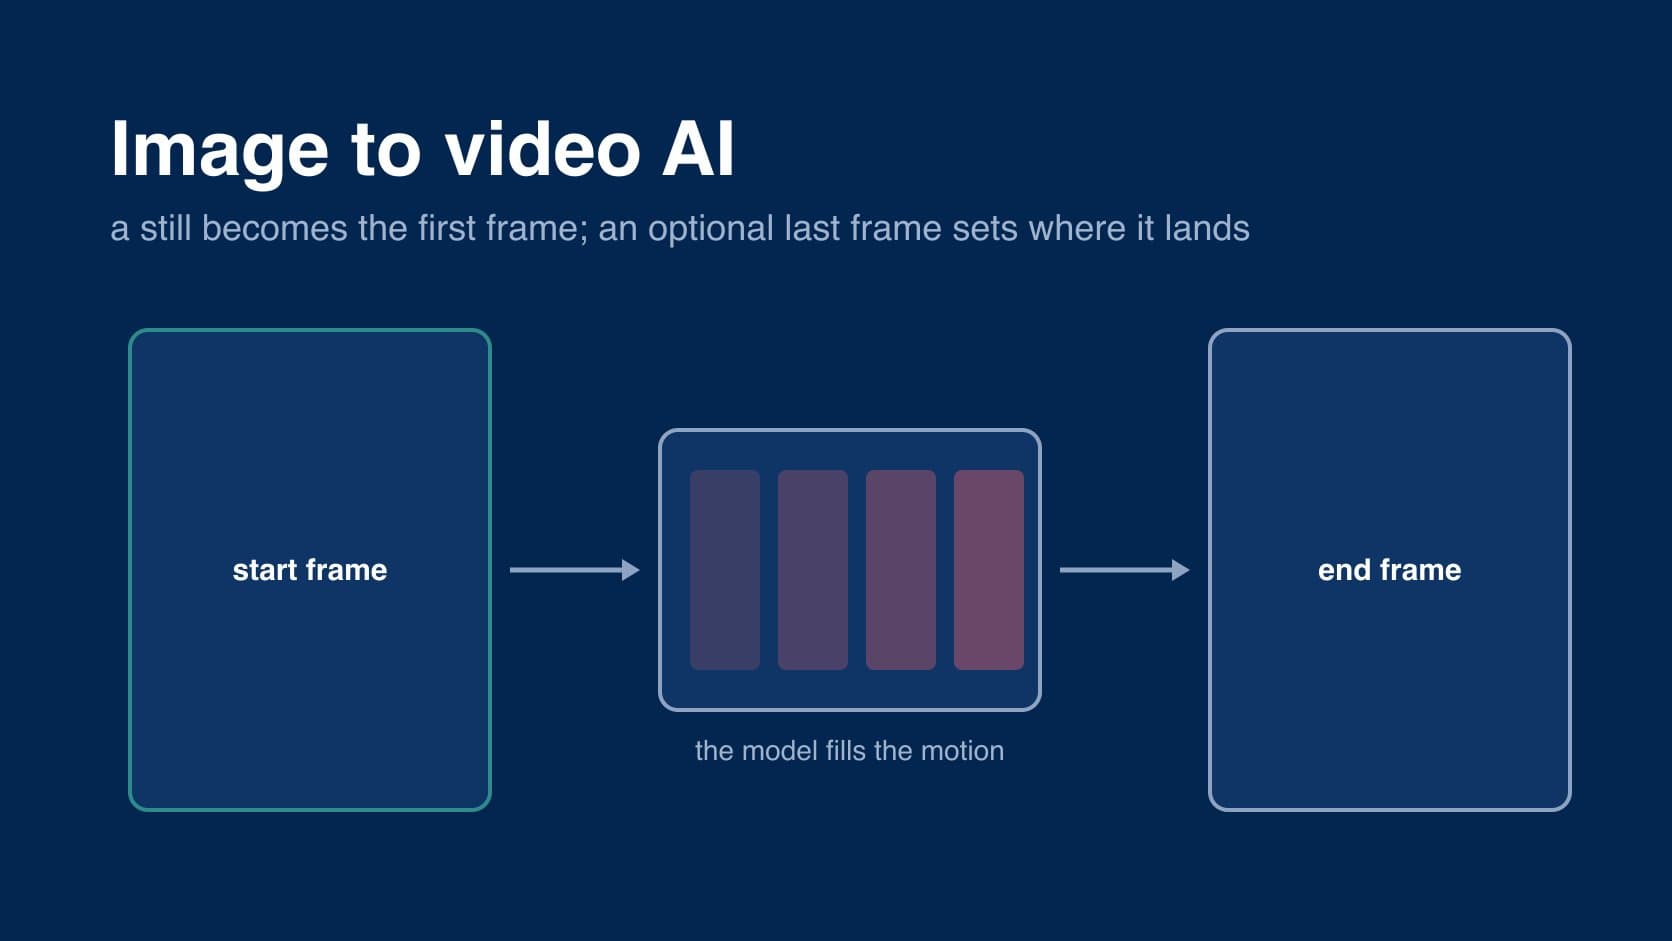
image-to-video AI takes a still image and makes it the first frame of a video clip. the model keeps what is in the picture — the product, the person, the framing, the light — and invents only what happens next. that is why most people making AI video for ads start here rather than from a text prompt: the hard part, what the thing looks like, is already decided.
below is how it works, how start and end frames change the result, what makes a good source image, and where each model is strongest. image-to-video is one of three ways to make AI video; the others are covered on the AI video generator page.
the short answer
- your image becomes frame one. the model generates the motion from there, guided by your prompt.
- add an end frame to control where it lands. the model then fills in the movement between two stills you chose.
- reference images are different from frames. a reference tells the model what something looks like; it does not have to appear as a frame.
- a good source image is sharp, simply lit, framed for the motion you want, and already the right shape.
- describe the motion, not the picture. the model can already see the picture.
how image-to-video works
a video model normally starts from noise and refines it into a clip that matches your prompt. with image-to-video, the first frame is pinned to your image, and the model generates every later frame so that it follows on plausibly from that one. it has to invent what is out of frame, what is behind the subject, and how things move — but not what the subject is.
that limit is worth understanding. one creator comparing tools put it clearly:
"a single image gives the model the starting frame, but it doesn't give it information about the rest of the scene, characters, locations or camera language."
the same post noticed that the phrase means different things in different products — some animate the image, others build a whole ad around it:
"The first thing I noticed is that image-to-video can mean very different things depending on the tool."
in this guide it means the first: one still in, one clip out, with the still as frame one.
start and end frames
a start frame fixes where the clip begins. an end frame fixes where it finishes, and the model generates the movement between them. that is the most control image-to-video gives you, and it is useful for ads in particular:
- reveal: start on a close detail, end on the full product.
- before and after: start on the problem, end on the result.
- packshot ending: start anywhere, end on the exact frame your brand team approved.
- continuity: take the last frame of one clip and use it as the first frame of the next, so a sequence does not jump.
every video model in our studio takes both a first and a last frame. the two stills should share a setting and a light, and the change between them should be something that can happen in the length you picked — a product cannot plausibly cross a room in three seconds.
frames versus reference images
a frame is a picture the clip must actually show. a reference image is a picture of something the clip should include — a face, a product, a look — wherever and however it appears. you use a reference when the subject has to be right but the composition is up to the model.
not every model takes references. in our studio, Seedance (2.0, 2.0 Mini and 2.5) and Hailuo 3 accept reference images on top of the frames; Kling 3.0 and Gemini Omni 1.1 Flash take frames only. in video mode, each image you attach gets a role — reference, first frame or last frame — and you can name it in the prompt so the model knows which picture you mean.
what makes a good source image
your start frame sets the ceiling on the clip. a media buyer describing the process behind their ads:
"Your reference image will determine the quality of your video generation."
what helps:
- sharp and well exposed. blur and noise get animated along with everything else.
- the right shape already. start from a 9:16 image if you want a 9:16 clip. a mismatched image gets cropped or extended, and the model has to invent the difference.
- room for the motion. if the camera is going to pull back, the subject should not fill the frame to the edges; if a hand is going to enter, leave the space it enters.
- simple, readable light. one clear light direction animates more convincingly than a busy, mixed one.
- no text you need to keep. small type on labels is where drift shows first. add critical text in the edit, not in the source.
a common route is to make the still with an image model first and animate it second. from a small brand's workflow for AI video ads:
"Generate your creator as a still image first, then bring them to life with an image to video model."
where image-to-video still fails
the start frame is right by definition. the trouble starts a few seconds later, when the model has to keep inventing. for most subjects small changes do not matter. for products they are the whole point. one person who tried animating jewellery photos:
"A ring can look perfect in the first frame and then have a slightly different stone, a different setting, or a subtly changed shape a few seconds later."
faces are the other weak spot, and it is not one model's problem. from a thread asking which model to use:
"I tried using Kling v3 image-to-video, but the facial and eye consistency was very poor."
and hands holding things remain hard everywhere:
"most image to video ai demos look great until someone has to actually hold the product lol."
what reduces it: shorter clips, an end frame so the model has to land on the right product, reference images where the model takes them, and less motion near the thing that must not change. a slow push-in on a ring holds up far better than the ring spinning.
which models do image-to-video best
every video model we run takes a start and an end frame, so the choice comes down to the rest of the shot:
| model | good for image-to-video when… |
|---|---|
| Seedance 2.0 | the product has to hold across the clip — it takes reference images on top of the frames — or you need 1080p or 4K. |
| Seedance 2.5 | you want one long move between two frames, up to 30 seconds. |
| Kling 3.0 Standard / Pro | short cuts from 3 seconds, square output, and a per-second price you know in advance. |
| Gemini Omni 1.1 Flash | the clip needs sound generated with it, in 16:9 or 9:16. Google's page lists image-to-video among the tasks it claims the model does well. |
| Hailuo 3 | you want 2K and wide or 3:4 shapes, with reference images. |
| Seedance 2.0 Mini | you are testing which motion works before spending on the final run. |
quality claims beyond these specs are the makers' own; the use-case comparison, with sources, is in the best AI video generators.
the summary
- image-to-video pins your still as frame one and generates the motion from there.
- an end frame decides where it lands. use it for reveals, before-and-afters and packshot endings.
- references are not frames. Seedance and Hailuo take them; Kling and Gemini Omni take frames only.
- the source image sets the ceiling. sharp, right shape, room for the move, simple light.
- drift is the failure mode. keep clips short and motion away from what must not change.
in Clear Cortex, attach your still in video mode and set it as the first frame, or pick it straight from Assets. for the whole process from brief to export, see how to make an AI video; for how image-to-video fits alongside text and script, and every model's specs, go back to AI video generator.