 Clear Cortex
Script to video AI: from script to storyboard to finished clips
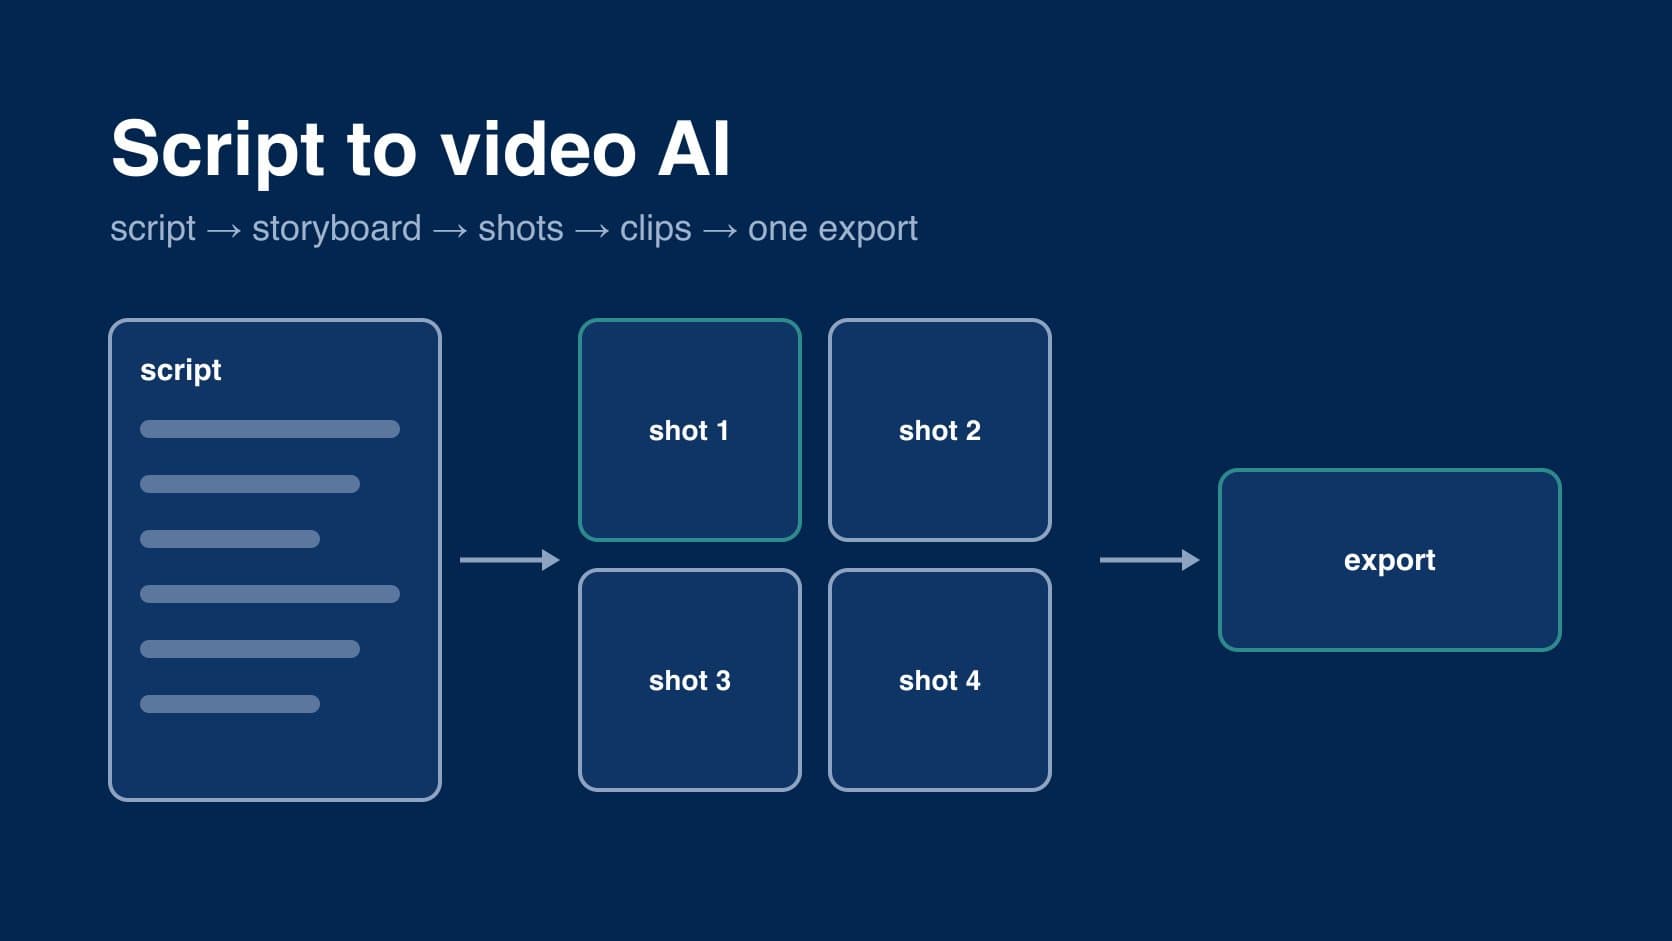
script to video AI promises one thing: paste in a script, get back a video. the version that works in practice is four steps you can check, not one button. the script is broken into beats, each beat becomes a shot on a storyboard, each shot becomes its own clip, and the clips are joined at the end. every AI video model makes clips of seconds, not minutes, so anything with more than one beat is made this way whether a tool shows you the steps or hides them.
this guide goes through those steps, what the storyboard is for, and where it still needs a person. script to video is one of three ways to make AI video; the other two, and how the models differ, are on the AI video generator page.
the short answer
- script: short, spoken-length, with the hook first.
- storyboard: one shot per beat, each with a written prompt and, ideally, a start frame.
- shots to clips: generate each shot on the model that suits it, and check it before moving on.
- join: put the finished clips together in order, then add voice, music and captions in the edit.
the point of doing it in steps is that you can see and fix each one. one person who compared script-to-video tools found that was the real difference between them:
"I thought choosing a text to video or script to video AI tool would be easy."
what separated them, in the same post, was not the picture:
"I realized the biggest difference isn't the video quality. It's what happens before and after the AI generates the first draft."
step 1: write a script that can be shot
a script for AI video is short and concrete. every line has to become something a camera could see. "our serum transforms your routine" cannot be shot; "a dropper releases one drop onto a fingertip" can.
a small DTC brand owner who makes AI video ads describes the shape that works for them:
"Write a short script. 40 to 80 words. Hook, agitate, reveal, proof, CTA."
that is roughly 15 to 30 seconds read aloud — a reel or an ad, not a film. write the hook first and spend the most time on it.
step 2: break it into a storyboard
each beat of the script becomes one shot. for each shot, write down what is seen (the prompt), what it starts on (a still, if you have one), and roughly how long it lasts. the timings have to add up to the script. the same brand owner:
"The timing has to add up. If the voiceover is 30 seconds, the scenes total 30 seconds with no gaps."
the storyboard is also the cheapest place to change your mind. moving, cutting or rewriting a shot costs nothing before it has been generated. from a workflow post on AI video ads:
"Storyboard in still frames before generating video. Cheaper to iterate on a bad image than a bad clip."
a builder of one of these tools, who disclosed that bias in the post, argued for keeping that decision human:
"Keeping one human decision in the loop (choosing the storyboard) beats full auto."
step 3: turn each shot into a clip
now each shot is an ordinary AI video generation: a prompt, usually a start frame, sometimes an end frame, on a model chosen for that shot. the hook might be a 3-second Kling cut; the product reveal a 1080p Seedance 2.0 clip; a slow establishing shot one long Seedance 2.5 take. nothing says every shot has to use the same model.
two things keep the sequence from looking like unrelated clips:
- start frames that share a look. make the stills for every shot together, in one style and light, before generating any video.
- chain the frames. use the last frame of one clip as the first frame of the next, so a continuous action does not jump. how frames work is in image to video AI.
check each clip before you make the next. a problem in shot two is cheaper to fix than to discover in the final cut.
step 4: join and finish
once every shot has a clip you are happy with, join them in order. then the work that makes it an ad: voiceover, music, captions, and trimming each clip to the beat. that part is still an edit, and most people do it in an editor. one post put the gap bluntly:
"Most AI video generators stop at the clip."
export at the shape the placement wants and keep captions inside the safe zone — see TikTok safe zones.
how the Clear Cortex storyboard does it
we built the storyboard around those four steps, and we would rather say exactly what it does than oversell it:
- a board is a sequence of shots in 9:16, 16:9 or 1:1, sized for a reel or an ad rather than a film.
- each shot holds a prompt, a start frame and an optional end frame. frames come from Assets — an image you made, one you uploaded, or one you go and make in image mode.
- each shot's clip is made on the video model, length, resolution and sound you set for that shot, on the same generator as video mode.
- Extend takes the last frame of a finished clip and starts a new shot from it, so the next clip picks up where the last one ended.
- the board's own Generate clip button joins every shot's finished clip, in order, into one video that lands in Assets. it waits until every shot has a clip, and the join is not charged again — the shots were paid for when they rendered.
the script-to-storyboard step itself happens through the Clear Cortex connector in Claude: give it a script and it creates a board with one shot per beat, each with its prompt written, linking images from your library as start frames and setting the model for each shot. it generates nothing — you open the board, check every shot, and make the clips yourself. in the app on its own, you write the shots by hand.
what it does not do: write the voiceover, score the music or add captions. those still belong in your editor.
the summary
- script to video is four steps: script, storyboard, clips, join.
- write lines a camera can see, short enough to read aloud in under half a minute.
- one shot per beat, with timings that add up to the script.
- pick the model per shot, and chain last frames into first frames for continuity.
- check every shot before the next. the edit — voice, music, captions — still comes last.
for a single shot rather than a sequence, how to make an AI video covers the brief, prompt and export, and you can go straight to video mode. for the other ways to make AI video and how every model compares, go back to AI video generator.