 Clear Cortex
Anyone opening Image for the first time
How the Image studio works
The whole surface in one pass: the prompt bar, why the controls change when you change model, what a generation costs before you press it, and where the result goes afterwards.
10 minutes · 7 steps
Start at the bar along the bottom
Everything a generation needs is on one line: what you want, which model makes it, the shape, the size, how many, and what it will cost. Nothing is hidden behind a settings page — if a control is not on the bar, the model you picked does not take it.

Pick the model before you write the prompt
The chip on the left opens every wired model with its starting price. They are not close to each other: GPT Image 2 starts at 7,000 credits and Nano Banana Pro at 134,000 — roughly nineteen times the cost for the same press of the same button. Choosing first also decides which controls you get, so it saves setting something twice.
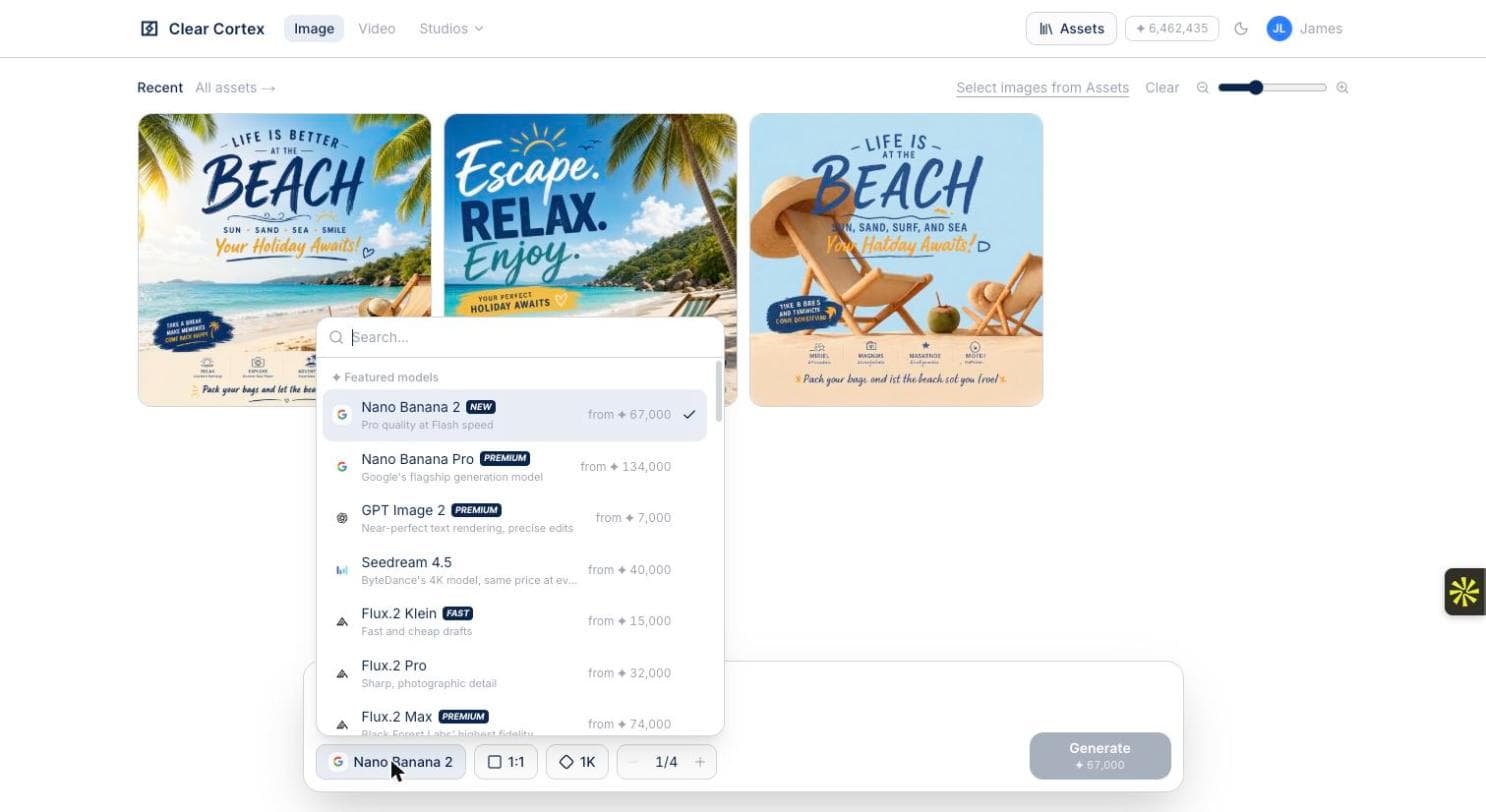
Watch the controls change with the model
Switch to GPT Image 2 and the Resolution chip is replaced by Quality and Background, and the estimate drops from 67,000 to 53,000. That is not the interface tidying up — Nano Banana 2 is priced by resolution and GPT Image 2 by quality tier, so each shows the dial that actually moves its price.

Set the shape before you press Generate
The ratio list is the one the selected model accepts, not a house list — so it changes underneath you when you switch models. Match it to where the image is going: 9:16 for a story, 1:1 for a feed post, 2:3 for something printed.
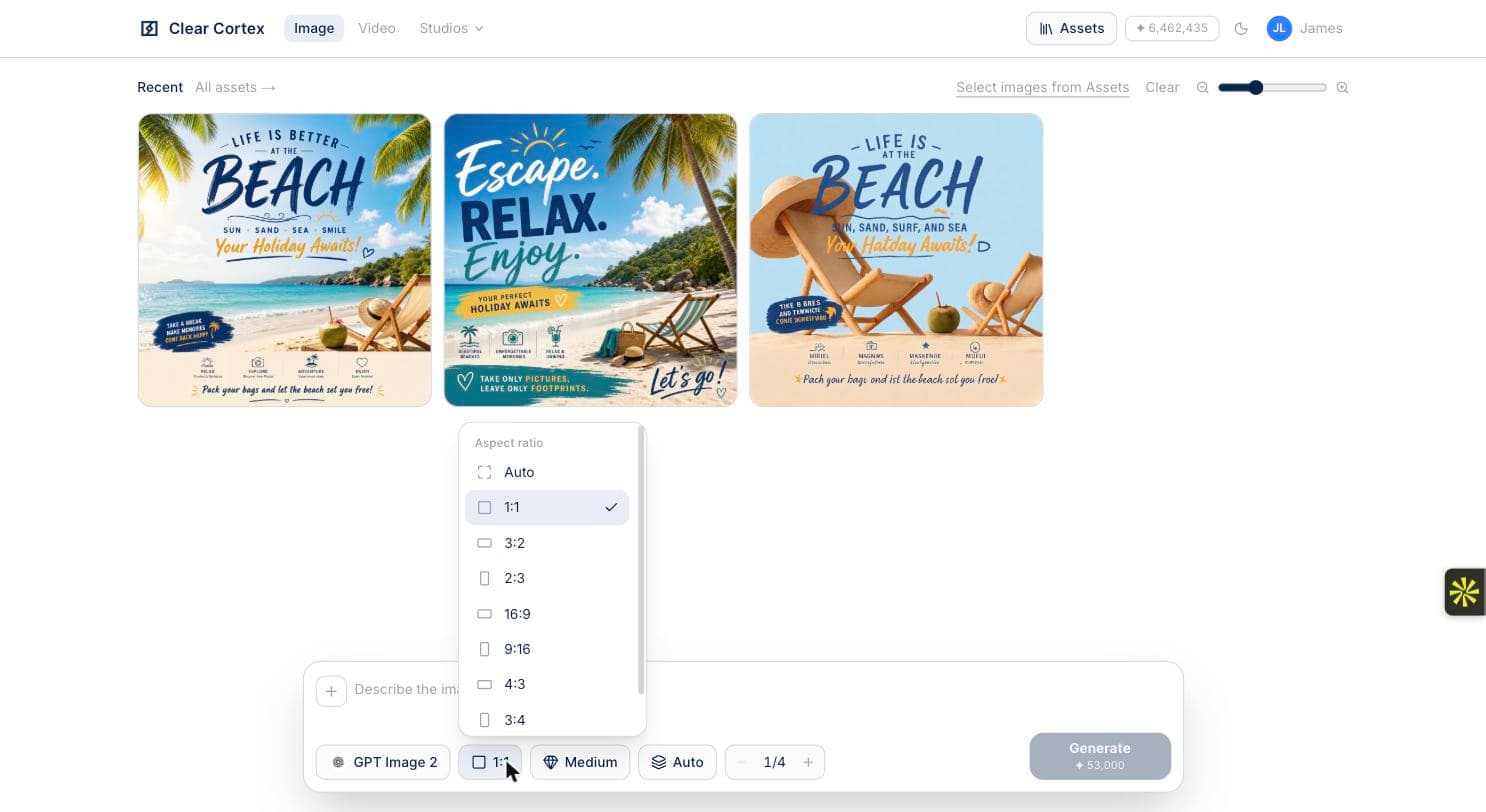
Add references when a description will not do it
The + at the left of the prompt field takes reference images — drag, paste or browse. Use them when you are editing something that already exists, or when a look is easier to show than to describe. Nano Banana 2 takes up to 14 and GPT Image 2 up to 16; the bar tells you when you are over.
Open a result to see exactly how it was made
Clicking an image shows the prompt that produced it, the model, the ratio, the resolution, how many references went in, what it cost and when. Reuse puts those settings back on the bar, Regenerate runs them again, and Reference feeds the image into your next prompt.
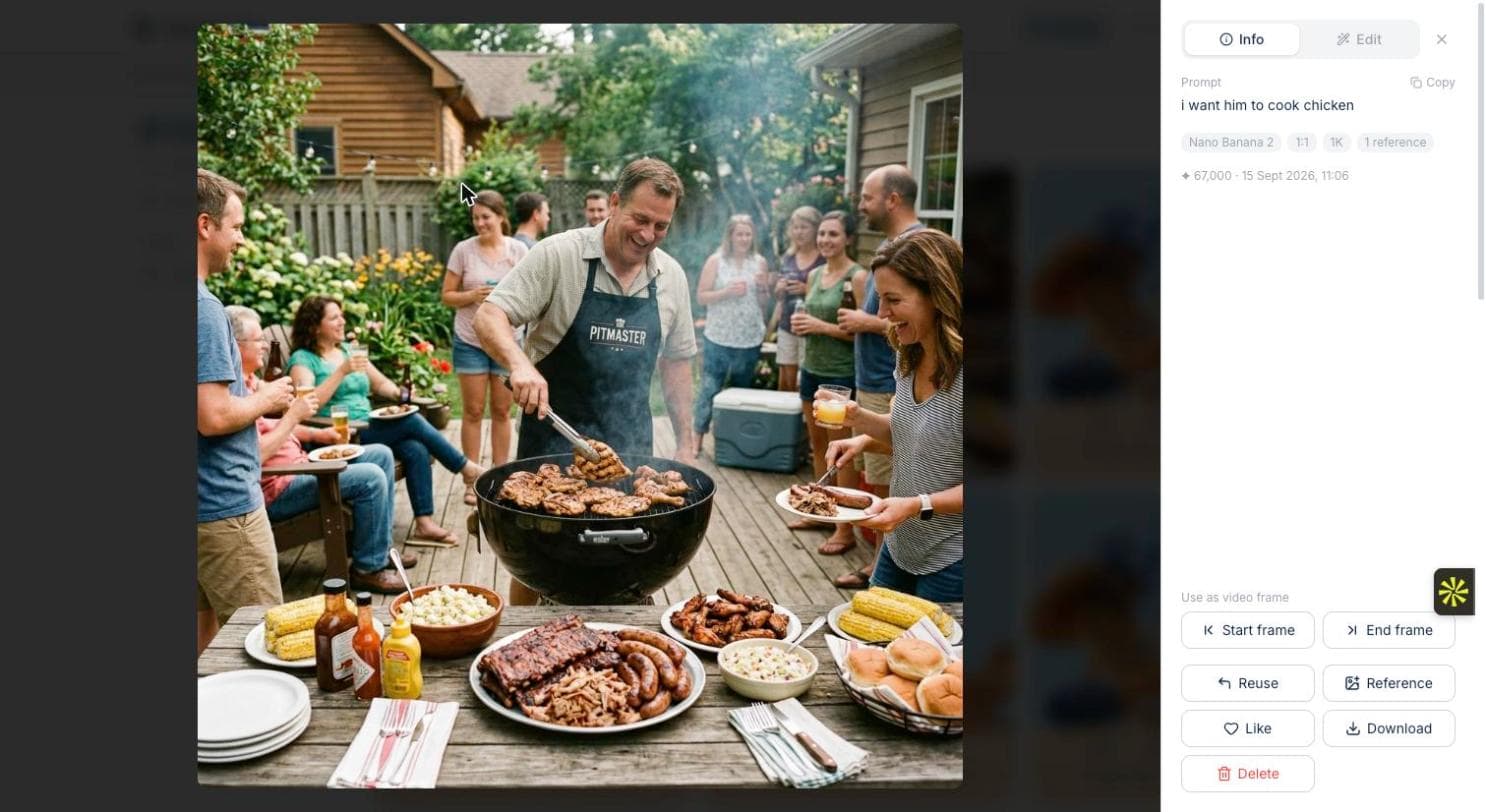
Everything lands in Assets
The strip at the top of the studio is only what you have been working on. Assets is the real store — every image and clip you have ever made, newest first, with folders, a liked view and a sort you can flip to oldest. Nothing you make in Image needs saving anywhere else.
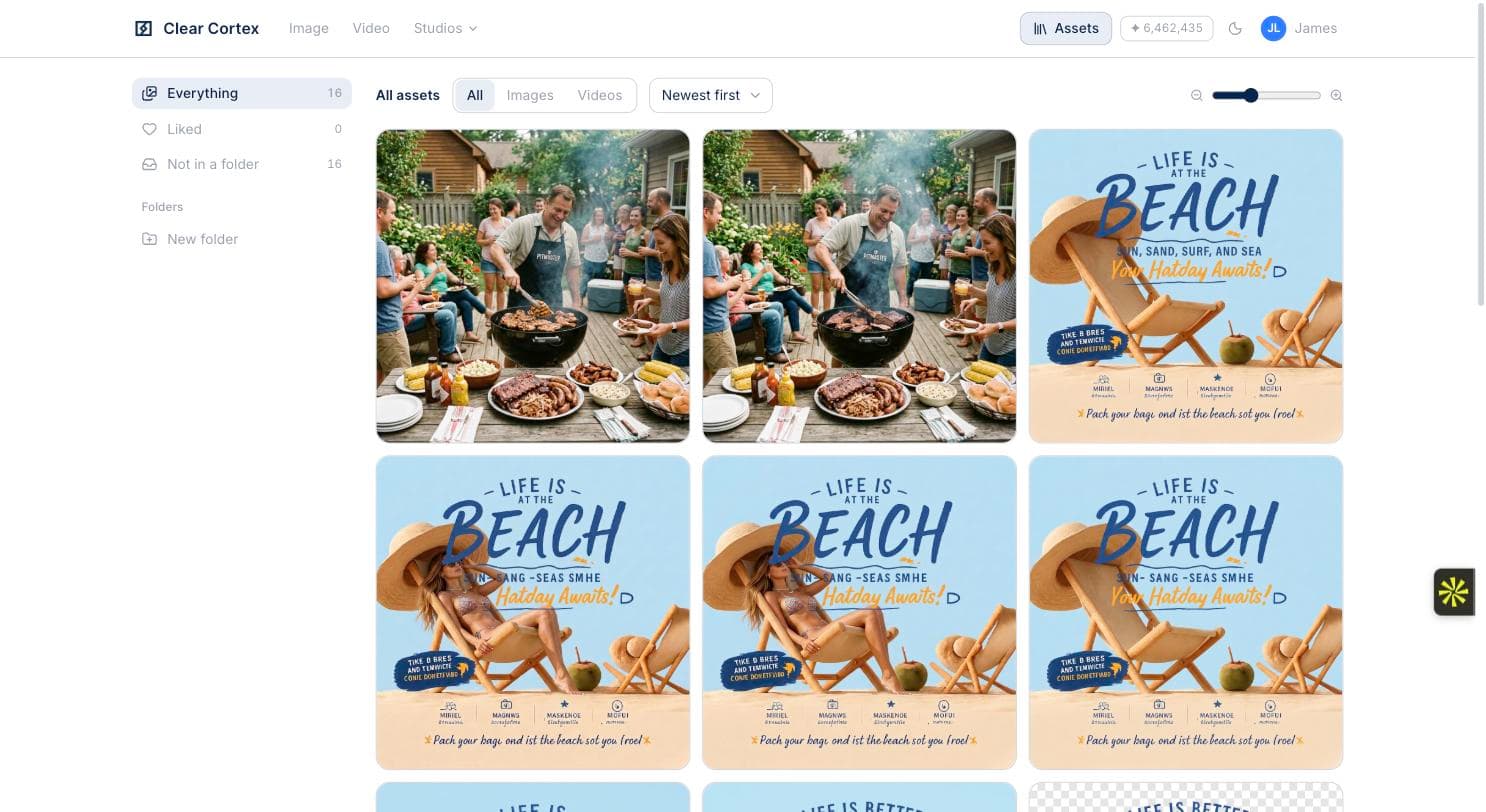
What you end up with
You can read the bar at a glance — model, shape, size, how many, what it costs — and you know where every image you make ends up and how to get it back.